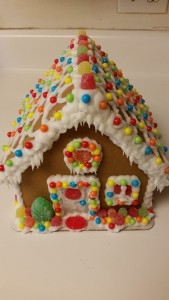
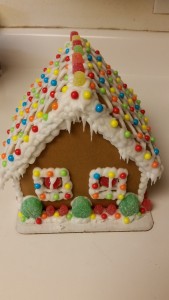
Creating a gingerbread house is one of the quintessential Christmas crafts: a combination of baking, constructing, decorating, and tasting. I have always wanted to bake a gingerbread house from scratch, but I have never gotten around to it. 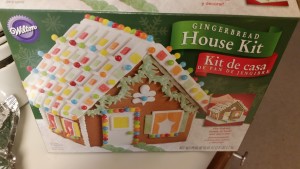 The pre-baked kits are well prepared and come with almost everything you need to create a delicious and beautiful gingerbread house. The only thing missing is a frosting tip (even though the box states that it contains one). To create this gingerbread house I used only the items provided in the … kit and a #7 frosting tip.
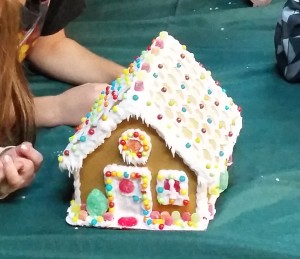
Follow the directions on the box to construct the house. The icing provided does a very good job of gluing all the pieces together; you need to give it at least three hours to “set” before decorating. Five youngsters had a difficult time devouring this house only a few hours after it was finished.
The kit includes a cardboard base, six pieces of gingerbread (two short sides, two peaked sides, and two roofs), icing, multicolored balls, gummy candies, and a plastic icing bag. To get the precise placement of frosting, you will need a frosting tip to place into the bag. I used a #7 tip.

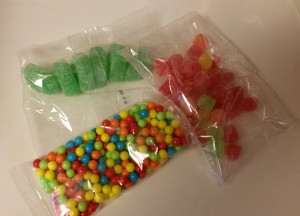
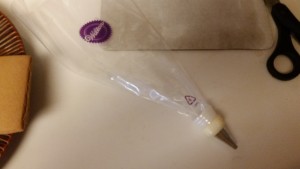
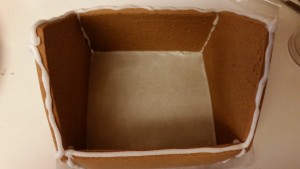
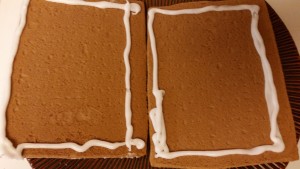
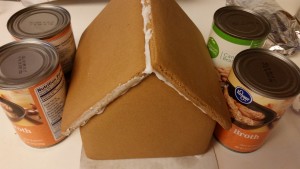
Begin construction of the house by piping a strip of icing onto the edges of each gingerbread piece. Don’t forget the bottom, so the house will stick to the board as well. Press and hold the pieces together for about a minute before moving onto another piece. When you have finished icing the pieces together, add extra icing into the seams. Prop up the house with cans and let the house set for three to four hours before decorating.
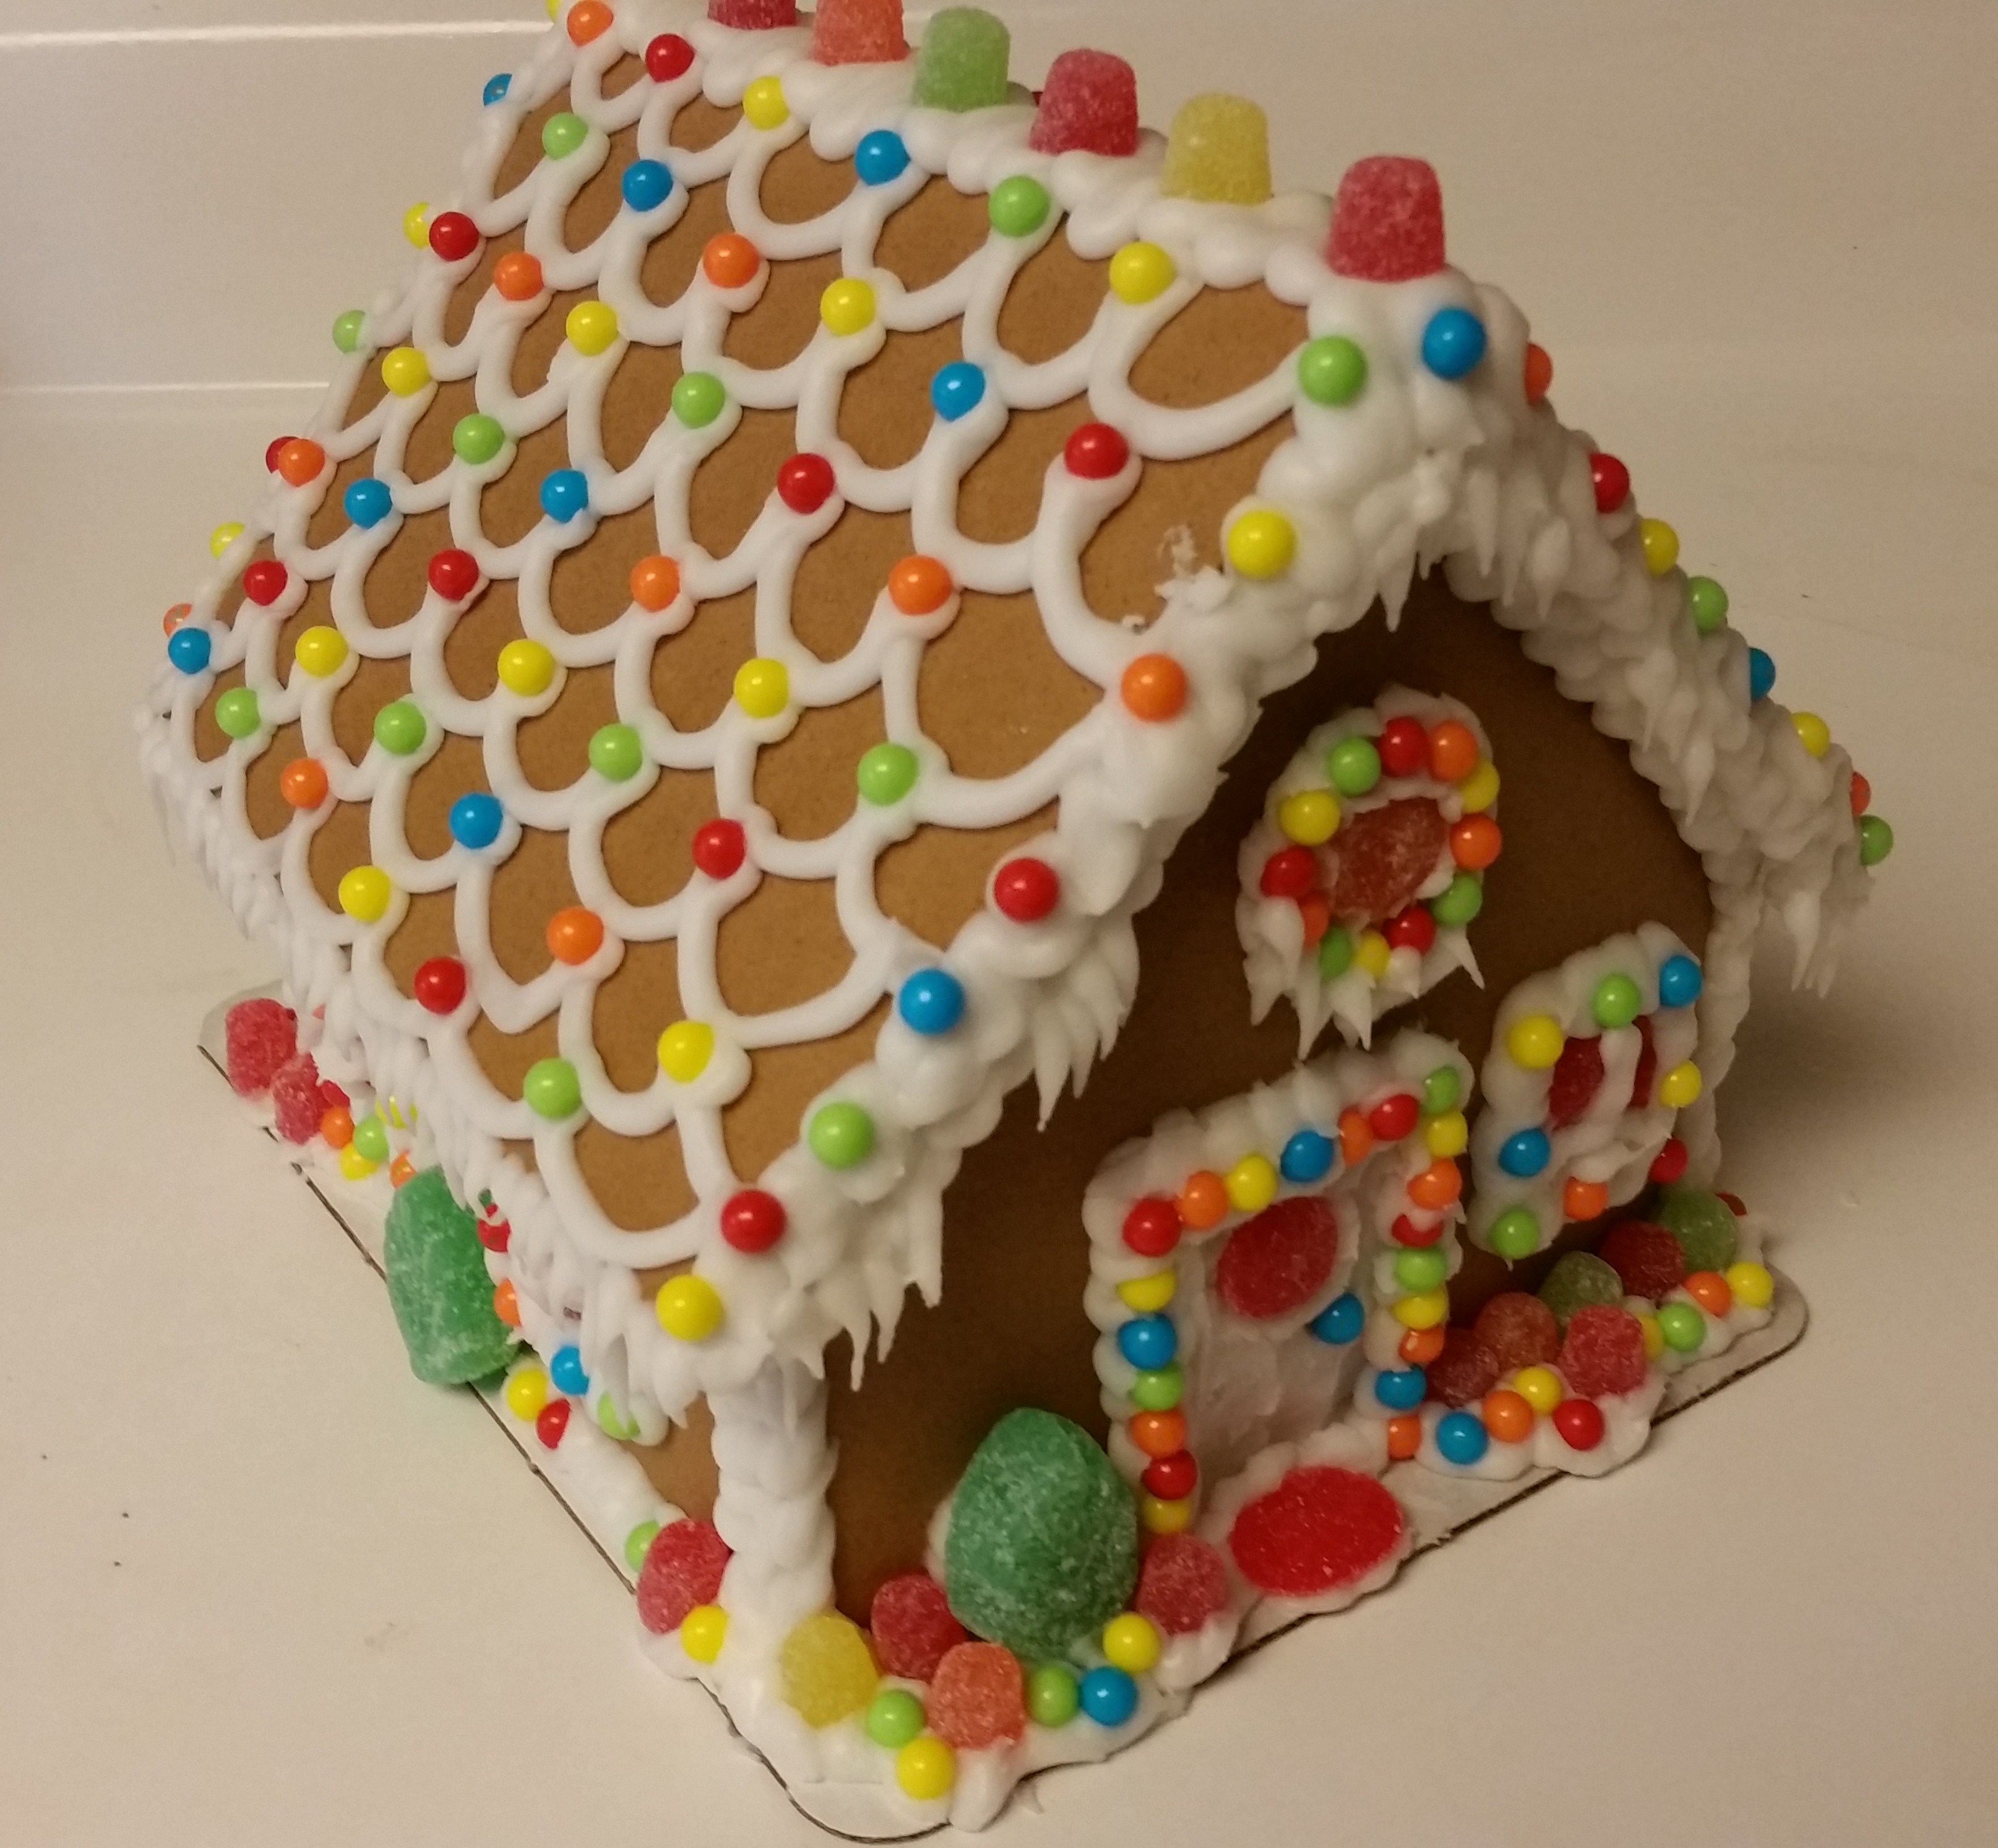
The decorating is the fun part. Let your create juices flow. To make curtains for the windows and a door mat, I flatted and shaped some of the gummy candies. I started with the doors and windows followed by the roof and finished with the board. Aside from a few lost balls, I used every piece of candy that was given in the kit. I did not use all the frosting.

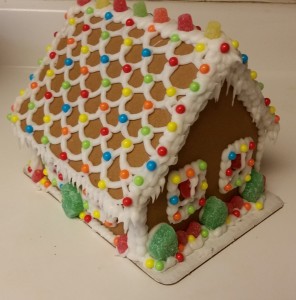
To make the scalloped roof, I started at the top and piped 6.5 half circles. The row of half-circles below begin and end in the center of the row above. A brightly color candy ball was placed at the end of each half-circle.
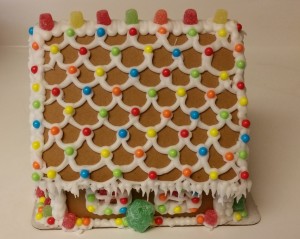
To make icicles, place the tip of the icing on the edge of the roof. Squeeze a ball onto the roof and slowly pull away and stop squeezing. You can make different length icicles by applying more or less pressure on the frosting bag.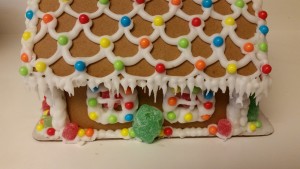
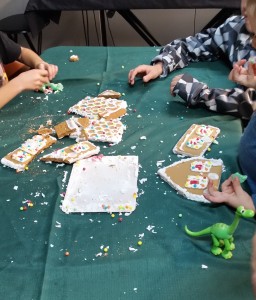
A few hours later the house was devoured by several children. Because the house was constructed on Christmas morning and wasn’t a “decoration” for the holiday, it was safe to eat and not dusty or stale. I have never seen anyone actually eat a gingerbread house before. It was very entertaining to watch. At first, the kids just picked the candy off the sides and roof. The pieces of gingerbread were glued together quite well from the frosting. But after one hefty tug, the roof came off and it took less than 2 minutes for the house to turn into crumbs on the faces of smiling children.
Merry Christmas!!

